Build apps for Meta glasses.
Android, Python, TypeScript and web apps on the Display, with the wearer's consent.
KitchenTimer.kt
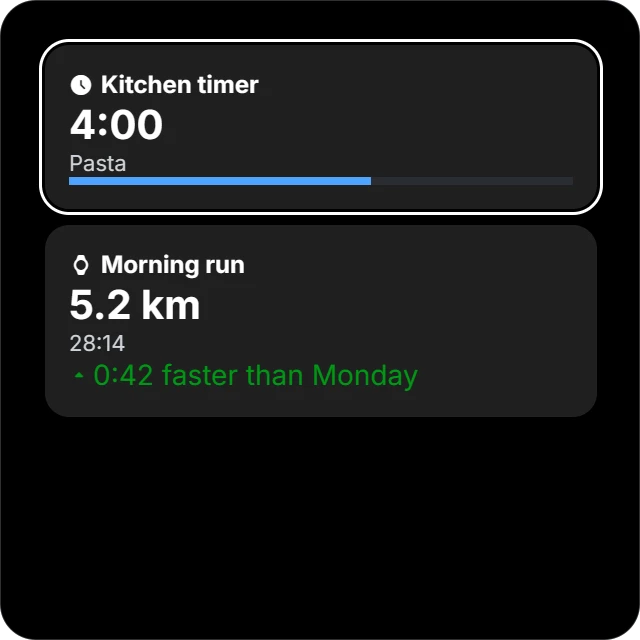
visor.display.cards.set("pasta", "Kitchen timer", LayoutIconName.CLOCK) {
    header(LayoutIconName.CLOCK, "Kitchen timer")
    stat("4:00", "Pasta")
    progress(0.6)
    detail {
        field("Started", "19:42")
        field("Ends", "19:52")
        buttons { button("stop", "Stop") { toast = "Stopped" } }
    }
}
Four ways in
- Your Android appVDK library
- Your computeradb, JSON-RPC
- Programs and AI agentsWebSocket, MCP
- A web app on the DisplayThe Display's browser
Visoron the phone
Bluetooth, Wi-Fi Direct
Glassesand Neural Band
In your language
val visor = Visor.connect(context)

val ask = registerForActivityResult(RequestScopes()) { held -> /* the scopes the app holds now */ }
ask.launch(setOf(Scope.CAMERA, Scope.BAND))

visor.band.gestures.collect { gesture ->
    if (gesture.derived == GestureAction.DOUBLE_TAP) visor.camera.takePhoto()
}com.macedonga.visor:kit. Getting started
async with await visor_kit.connect_adb() as visor:
    print(await visor.call("glasses.status"))
    async for gesture in visor.subscribe("band.gestures"):
        print(gesture["finger"], gesture["derived"])
pip install visor-kit. The network door
const visor = await Visor.connect("ws://192.168.1.20:7333/rpc", token);
visor.subscribe("band.gestures", {}, (gesture) => console.log(gesture));
npm install visor-kit. JSON-RPC
import { Visor, onGlasses } from "visor-kit";

if (onGlasses()) {
  const visor = await Visor.connectGlasses();
  await visor.call("voice.speak", { text: "Hello from the web app" });
}
Runs in the Display's browser. Web apps on the Display
AI-assisted development
Paste into your agent
Set up this project for the Visor Development Kit (VDK), which lets software use Meta glasses through Visor.
1. If `visor --version` fails, install the visor command. It needs Java 17 or later. On macOS or Linux: `curl -fsSL https://visor.macedonga.com/install.sh | sh`. On Windows: `irm https://visor.macedonga.com/install.ps1 | iex`.
2. Add the VDK's docs as an MCP server, `visor docs-mcp`. In Claude Code: `claude mcp add vdk-docs -- visor docs-mcp`.
3. Save the VDK's rules for agents with `visor agents > AGENTS.md`, and follow them.
4. Read https://visor.macedonga.com/llms.txt, then add the VDK to this project as the getting started guide says.
Check every method name in the docs before you use it.
What your code can use
- GlassesStatus, every pair, motion, touches and presses.
glasses.* - CameraPhotos into the gallery, videos, the live camera, imports.
camera.* - DisplayLayouts and their clicks, Briefing cards, the teleprompter.
display.* - Neural BandGestures, wrist motion and vibration.
band.* - VoiceQuestions that name your app, spoken answers, transcripts.
voice.* - AssistantYour app's tools for the wearer's model.
assistant.* - SettingsEvery setting the glasses keep.
settings.* - Web appsAll of it from JavaScript on the Display.
connectGlasses()
Test without the glasses
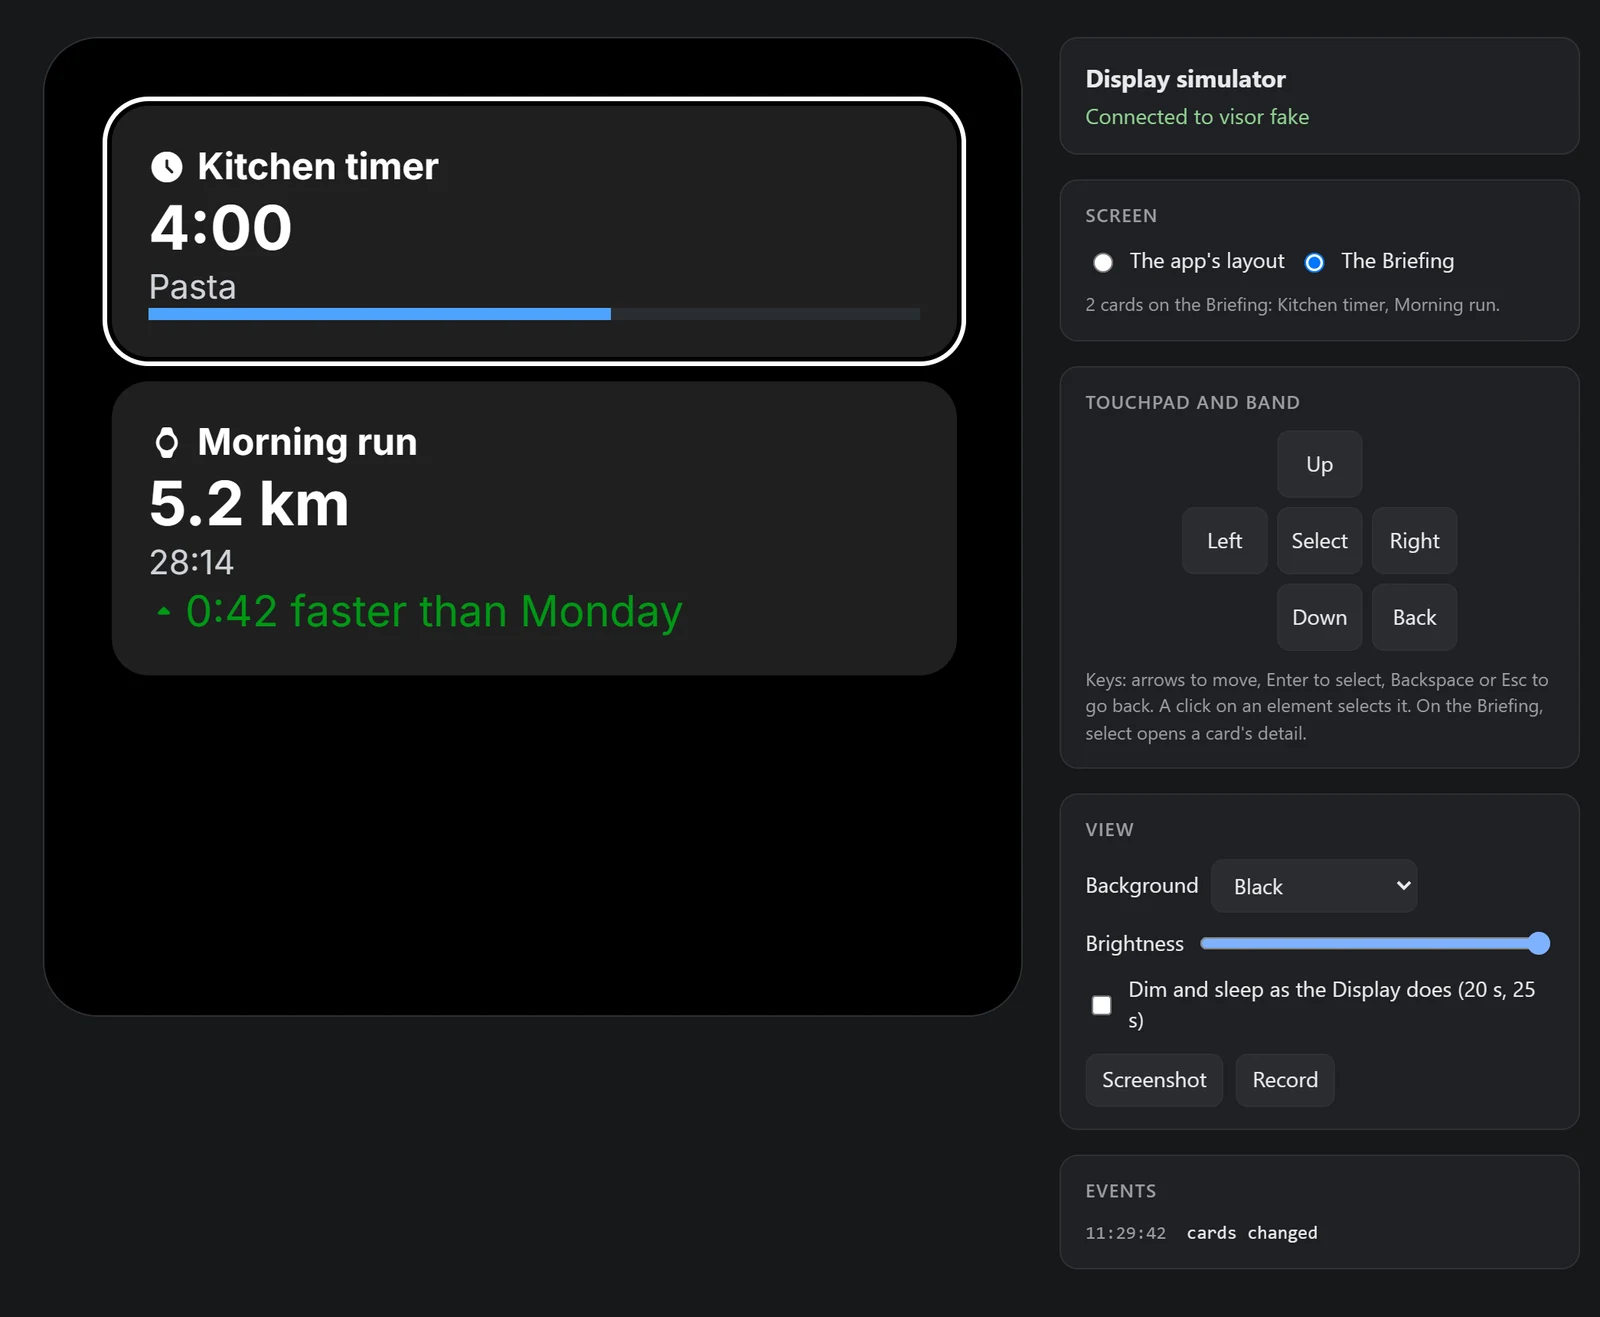
127.0.0.1:7333/display
Terminal
$ visor fake
FakeVisor on ws://127.0.0.1:7333/rpc and http://127.0.0.1:7333/mcp; visor --fake on port 7334. Type help.
The Display simulator: http://127.0.0.1:7333/display
visor simulate band.gestures- Gestures without a band: type them, and your app gets them.
visor trace- Every call and event between your app and Visor, live.
FakeVisor- Visor inside your app's unit tests, with the same Display.
Install
- Android
implementation("com.macedonga.visor:kit:0.1.0") - Android tests
testImplementation("com.macedonga.visor:kit-testing:0.1.0") - Python
pip install visor-kit - TypeScript
npm install visor-kit - visor on macOS and Linux
curl -fsSL https://visor.macedonga.com/install.sh | sh - visor on Windows
irm https://visor.macedonga.com/install.ps1 | iex
The visor command needs Java 17 or later, which Android Studio brings.